
Start With the Main Card, Not the Finishing Touches
The main card is the anchor. Whether it is an invitation, details card, RSVP card or menu, that first piece sets the size, weight and fold style for everything else. Once the core card is approved, the rest of the suite can be built around it instead of forcing pieces to fit after the fact.
In practice, that means checking dimensions before print and assembly begins. A 148 x 210 mm card will behave differently to a 120 x 180 mm card, and a thicker stock will change how many layers still feel tidy in the envelope. If the base card is too large, extra wraps and inserts can look crowded, especially once foil, wax or ribbon is added.
- Confirm the final trim size first.
- Check whether the card will be single, folded or layered.
- Match the paper weight to the number of extra pieces.
Build the Stack From Largest to Smallest
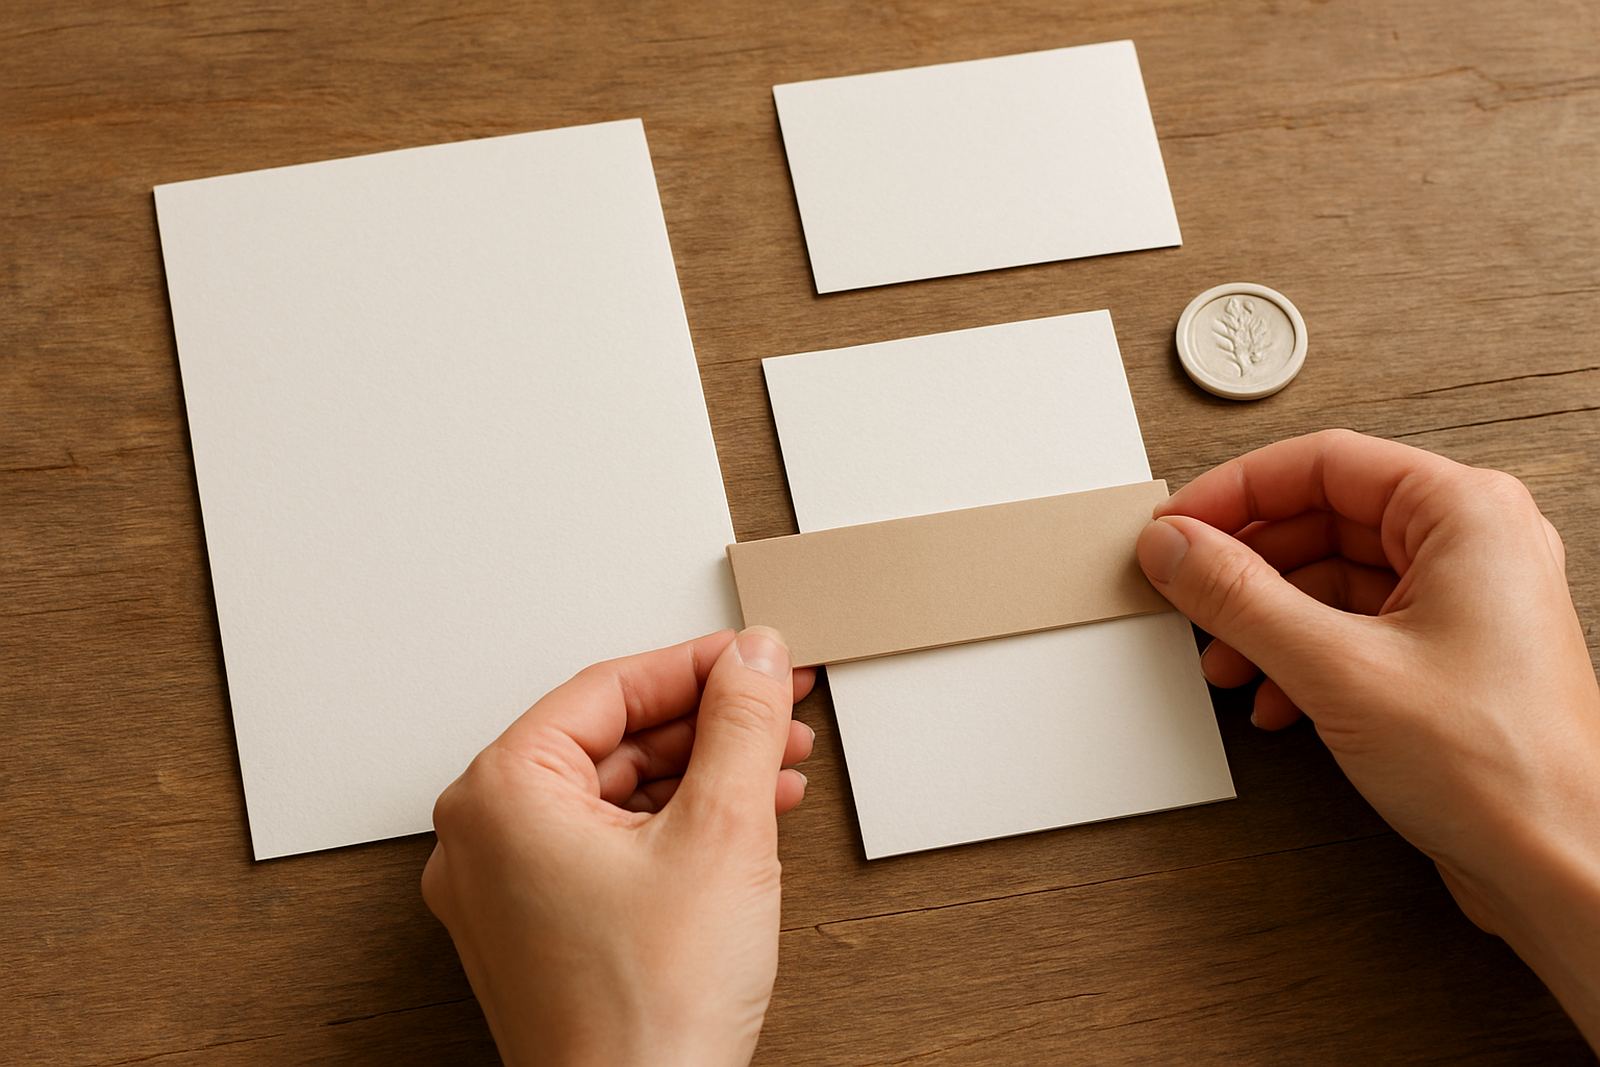
The neatest assemblies usually follow a simple rule: largest layer first, smallest detail last. This lets each item sit properly without bulking up one side. A wrap, belly band or backing card should go on before small inserts, because those smaller items need a clean resting place.
For a wedding suite, that might mean placing the invitation card on the bottom, then a details insert, then an RSVP card, then the wrap. If the envelope liner or belly band goes on too early, the rest of the suite can shift and crease. It is a small thing, but it makes a visible difference when the guest opens it.
- Bottom layer: main invitation or announcement card.
- Middle layers: details, RSVP or venue inserts.
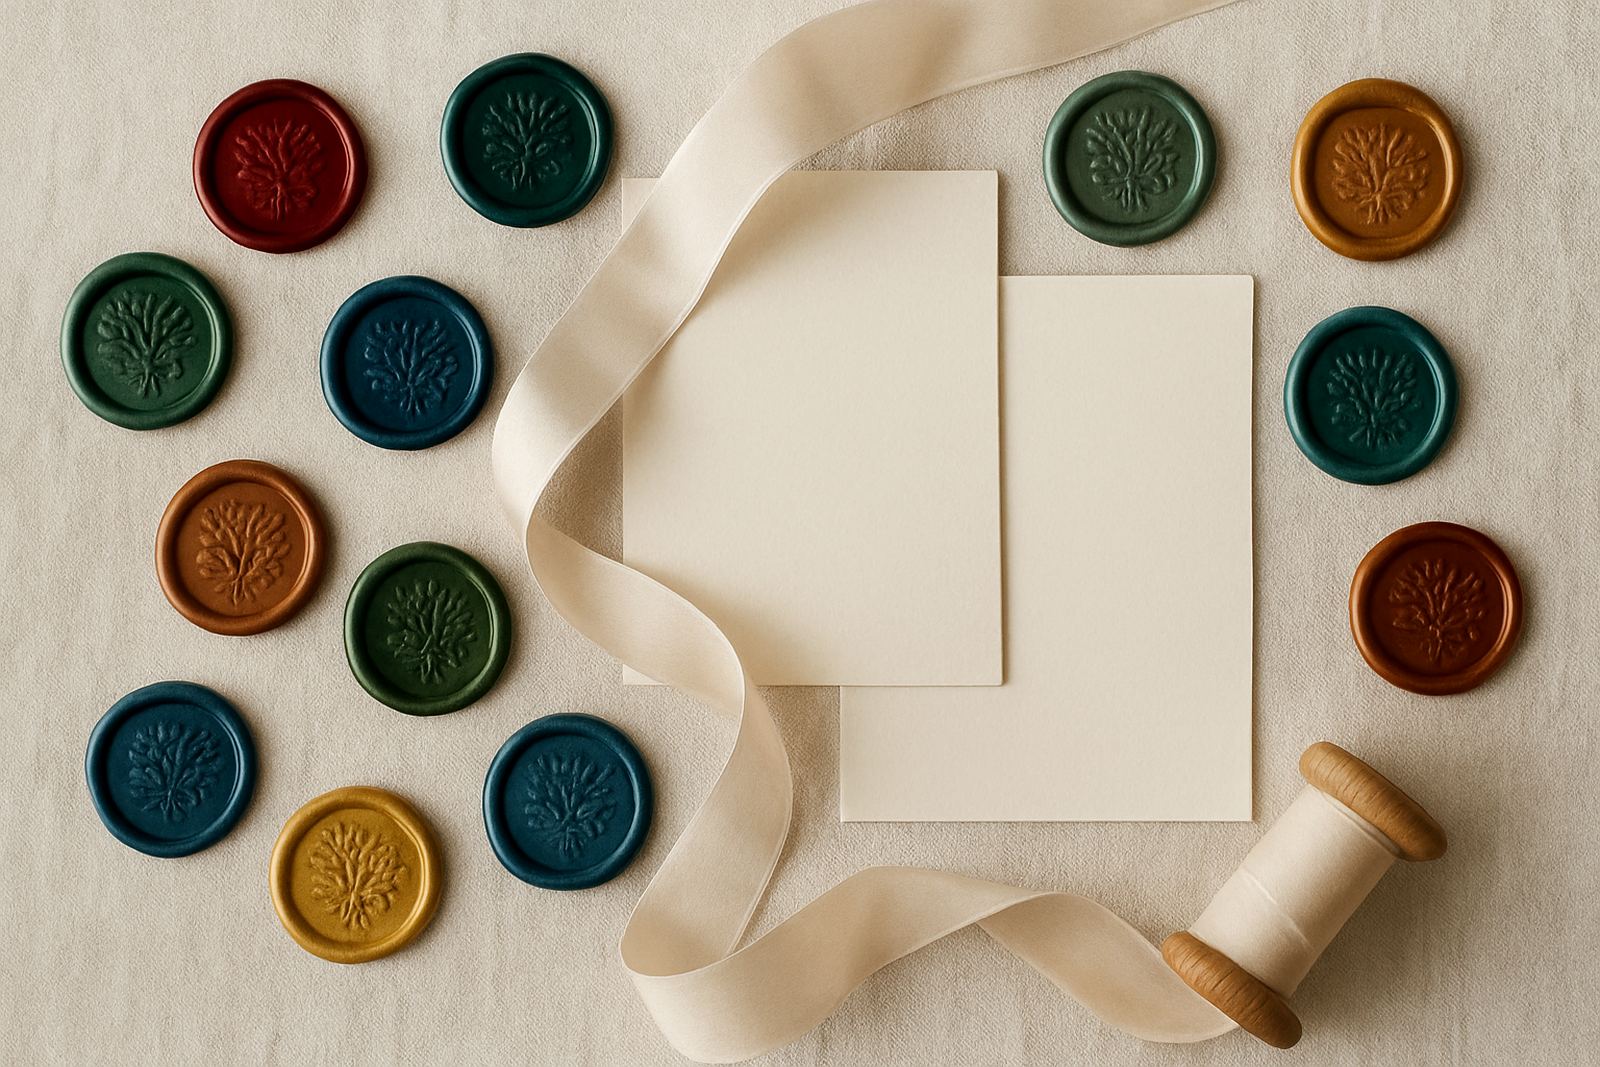
- Top layer: wax seal, belly band or decorative tag.
Why Foil, Letterpress and Wraps Need a Planned Sequence
Foil stamping gives shine and texture, but it also needs breathing room. If a foil-stamped panel is pressed under a heavy wrap too soon, the edges can scuff or lift. The same applies to letterpress finishing, which has a tactile impression that should stay clean and visible, not flattened by poor sequencing.
The order also affects how adhesives behave. A ribbon fixed before the paper has settled can pull a corner out of line. A wax seal added before the envelope is measured may stick out too far and catch in transit. In humid Cape Town weather, especially in Woodstock or near the Atlantic Seaboard, paper can take on a little movement overnight, so assembly should be done on a flat surface and left to rest before packing.
- Let printed pieces acclimatise before assembly.
- Use the lightest possible adhesive for delicate layers.
- Check that foil areas are fully cooled before stacking.
Proof, Count, Then Assemble in Batches
Good assembly is not only about appearance, it is about control. Before anything is packed, every component should be counted and checked against the approved proof. A missing details card or a reversed name card is far easier to catch on the table than after fifty sets are already sealed.
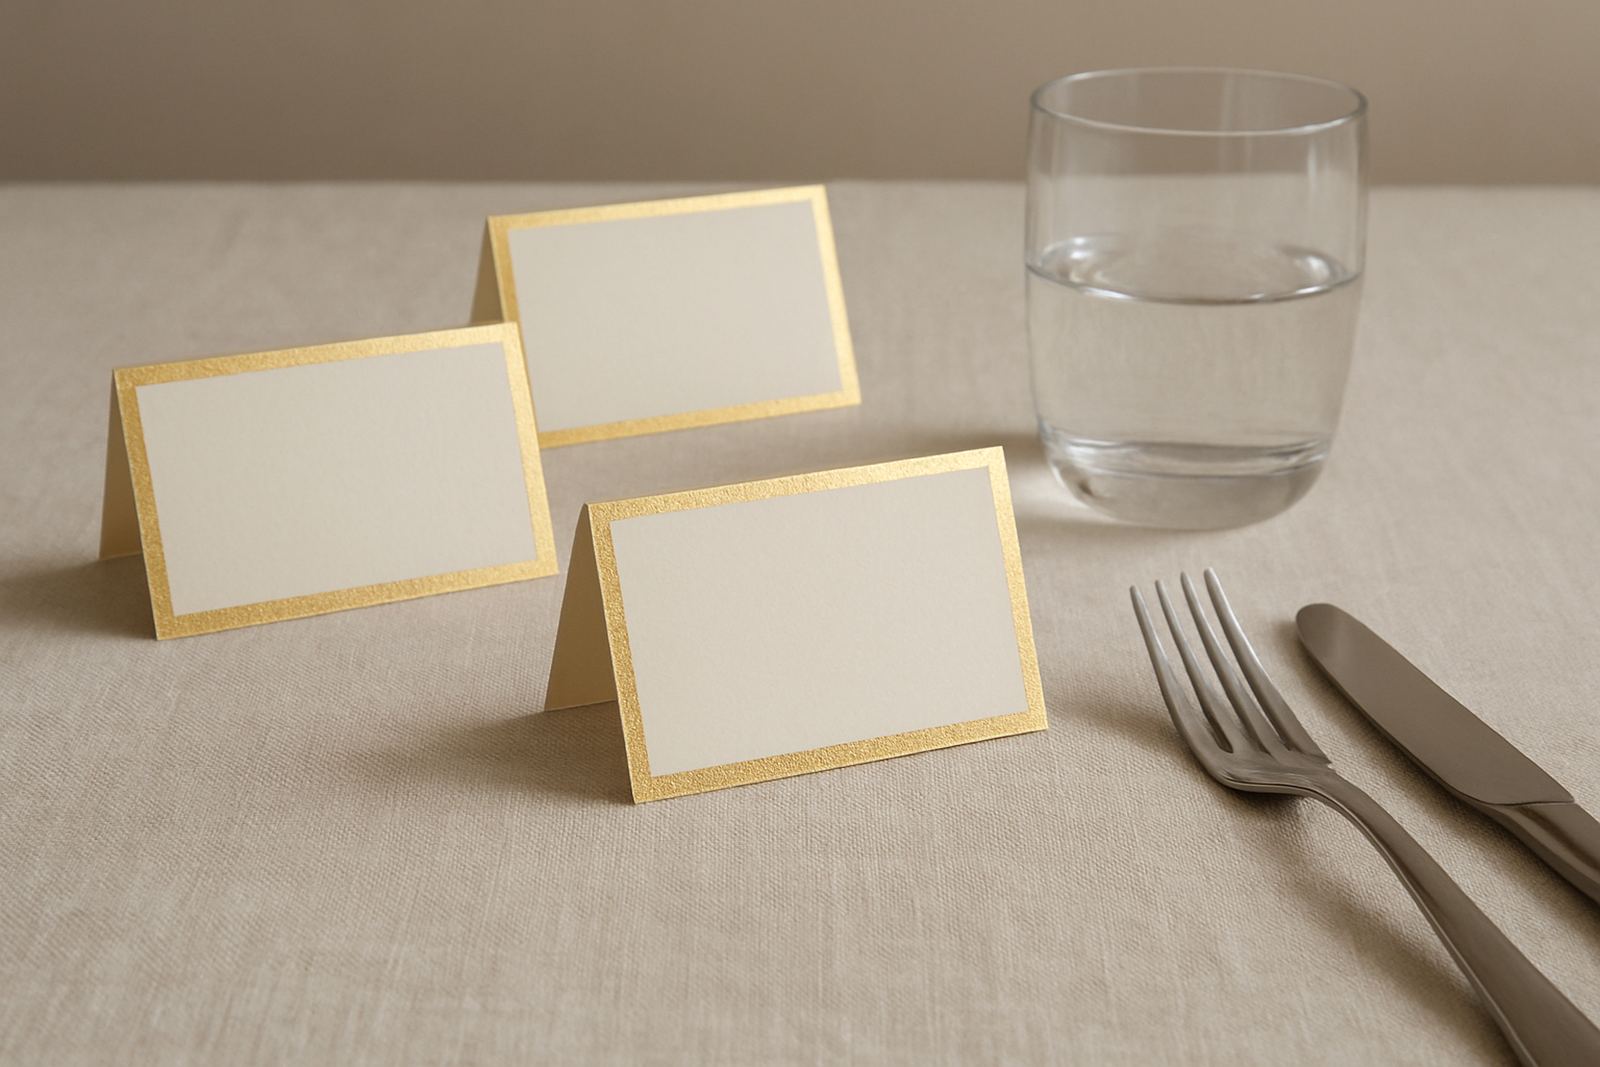
Batch work is the safer approach. Assemble ten or twenty suites at a time, then check alignment before moving on. This gives space to spot a font size that feels too small, a ribbon that sits off centre, or an envelope that is suddenly too snug. With municipal by-laws in mind for event stationery at venues, especially where table numbers or directional cards are needed, accuracy matters because guests rely on clear information.
- Count each component before assembly begins.
- Work in small batches, then inspect one finished set.
- Keep approved samples aside as the reference point.
Match Assembly to Delivery and Event Timing
The final order should always reflect how the stationery will travel. Couriered invitations heading to Johannesburg or Durban need a different packing approach from event day menus headed to a Constantia estate. Anything with raised detail should be protected with tissue, card separators or sleeves so it reaches the venue in the same condition it left the studio.
Load-shedding can slow production if tasks are left for the last minute, so planning the assembly sequence early helps avoid panic. If printing, cutting and packing all happen on the same day, there is less margin for error when a power interruption or courier delay gets in the way. For clients in Stellenbosch, Paarl or Somerset West, timing is especially important around peak wedding season, when courier collections and venue drop-offs can get busy.
- Pack flat items first, then the raised or delicate pieces.
- Leave extra time for drying, cooling and checking.
- Use stronger outer packaging for long-distance couriering.
A Woodstock Wedding Suite Done the Right Way
Imagine a Cape Town couple ordering foil-stamped invitations, RSVP cards and wax seals for a summer wedding in the Southern Suburbs. The correct assembly order would begin with the main card, then the RSVP and details cards, then the wrap, and only after that the seal. If the seal is added too early it can split or shift, and if the wrap goes on too late the stack looks untidy.
That same care carries through to envelope addressing and gift packaging too. A well assembled suite feels balanced in the hand, slides into the envelope without strain, and opens neatly at the other end. It is a small sequence of steps, but each one supports the next, which is why order matters so much in luxury stationery. Get it right and the whole set feels calm, polished and complete.
- Think of the suite as a sequence, not a pile of separate pieces.
- Keep fragile details for last, when the rest is already secure.
- Allow the final set to rest before courier collection or handover.